Seasons greetings to the best patients in town! We are taking the opportunity to reflect on what has ended up being one of our BIGGEST years yet. As we look back on 2018, we realize there are so many accomplishments and milestones that we are proud of and excited about.
We thought we would share a few highlights with you!
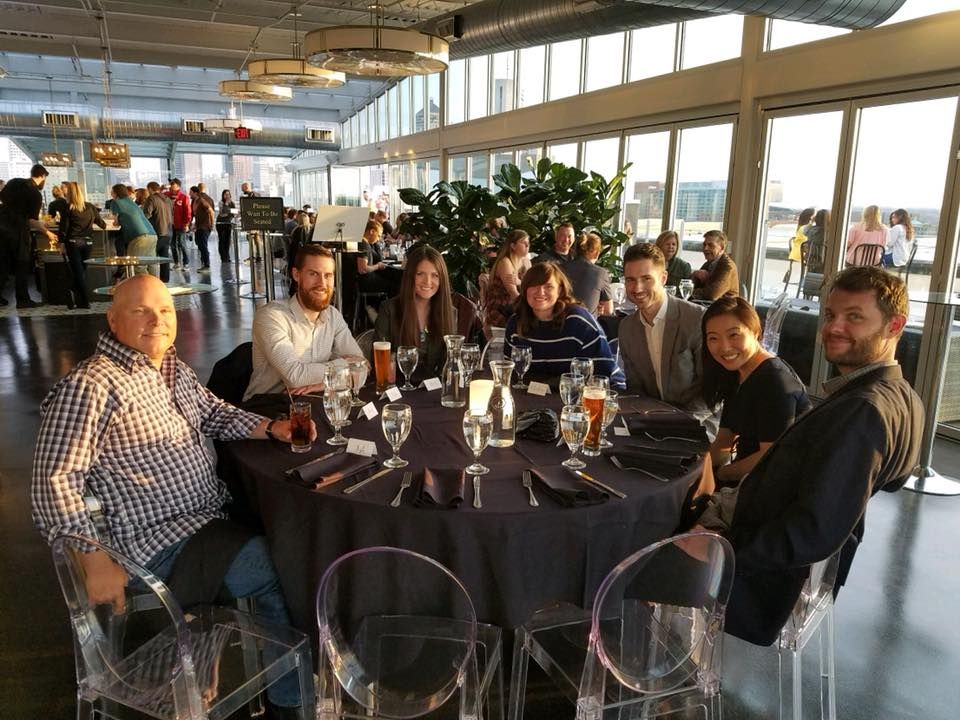
In April, we hosted our first VIP exclusive event at Juniper Roof Top Lounge and Dr. Kulesa was awarded the prestigious Dr. Jeffery M. Gibbs Memorial Excellence in Dentistry Award by the Dental Network Group, for exemplifying the highest standards of excellence in the practice of dentistry.
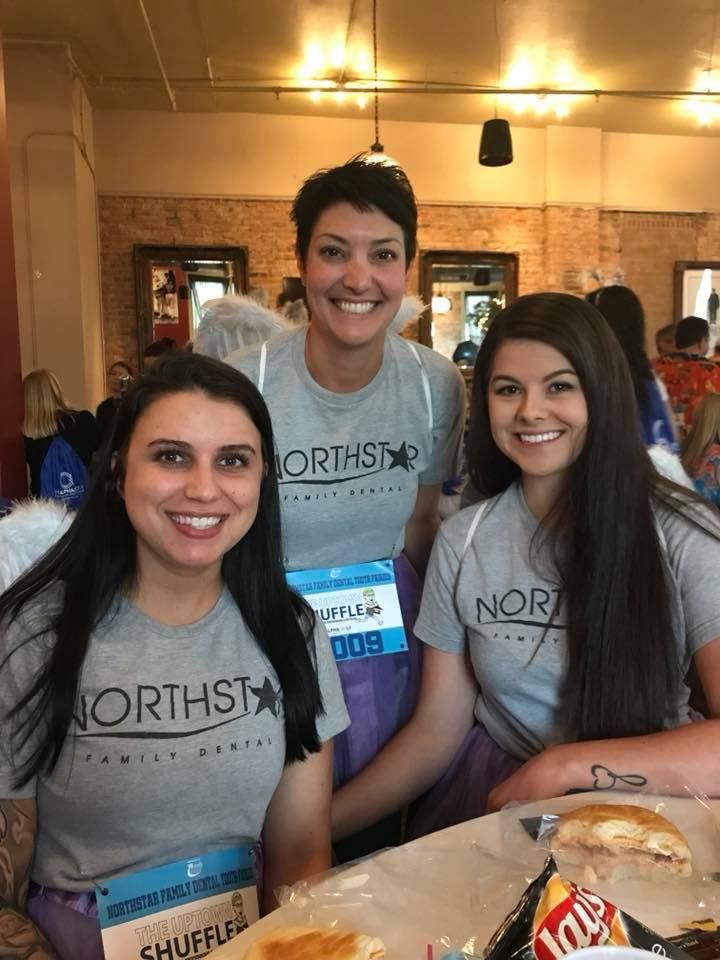
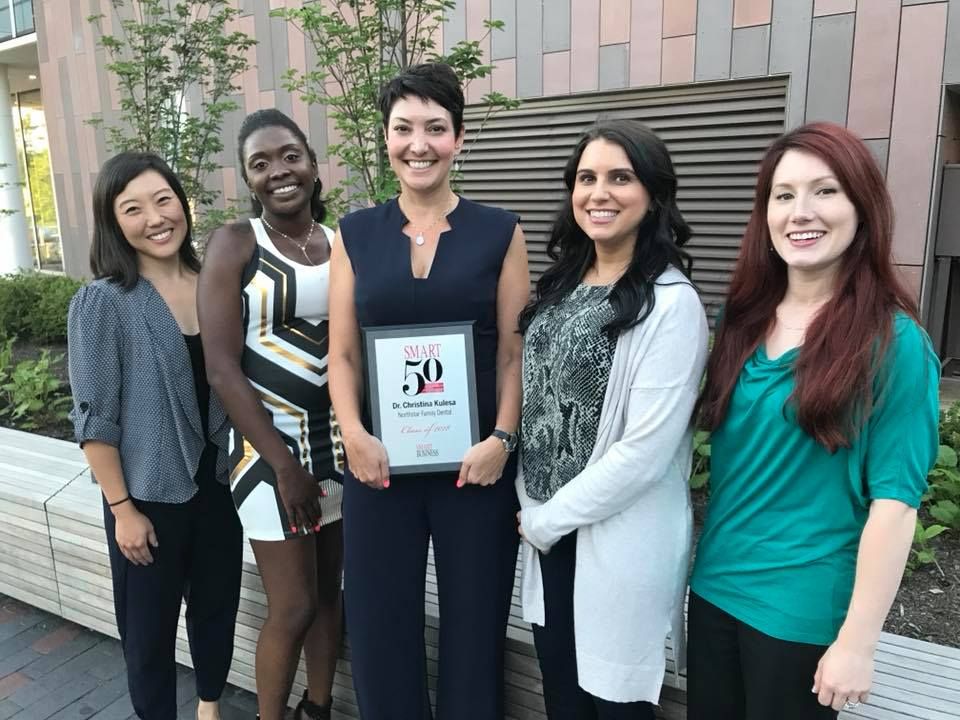
June was a particularly fun month for our team, who participated in the Westerville Chamber of Commerce Uptown Shuffle event. This month also brought the exciting news that Dr. Kulesa was recognized by Smart Business Magazine as one of the 50 Smart Business Owners in the greater Columbus area.
Dr. Kulesa made several appearances on GoodDay Columbus in 2018 to offer her dental expertise on everything from the best teeth whitening treatments to how to keep your kids’ teeth and mouth healthy.

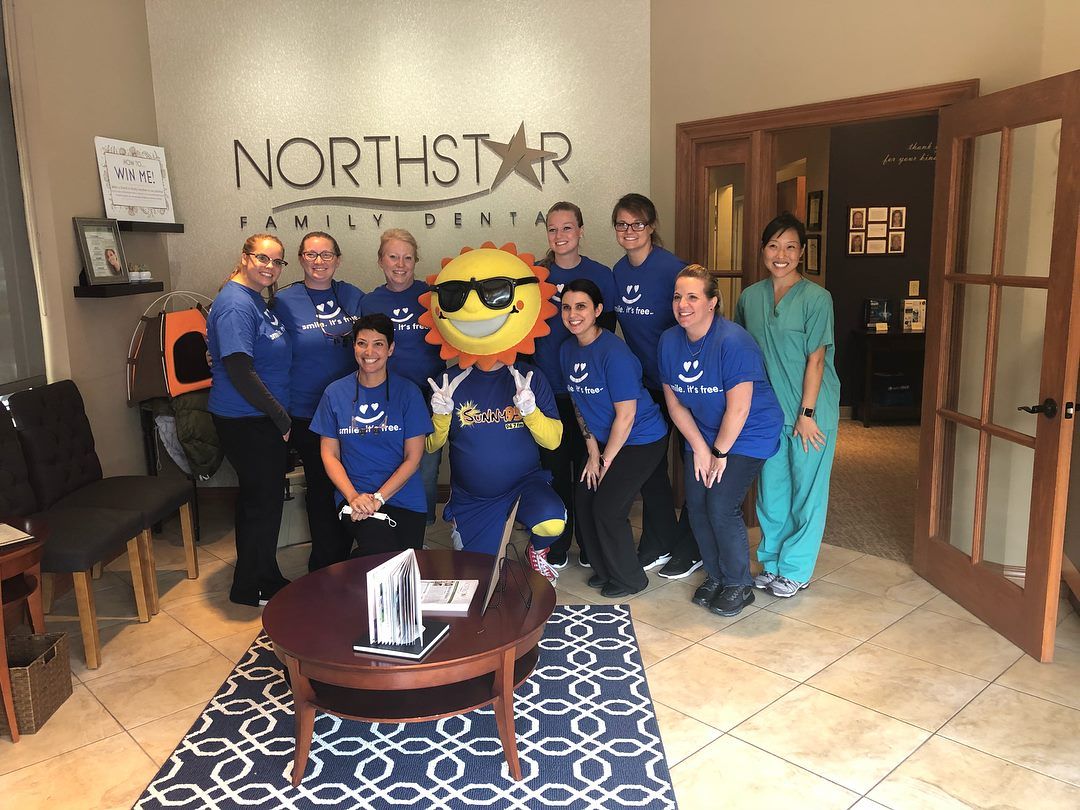
In September, our team hosted our second Dentistry from the Heart event – opening our doors to the public to provide an entire day of completely FREE dental care!
In October, Dr. Pheifer welcomed baby number two – Miss Ada Jean!

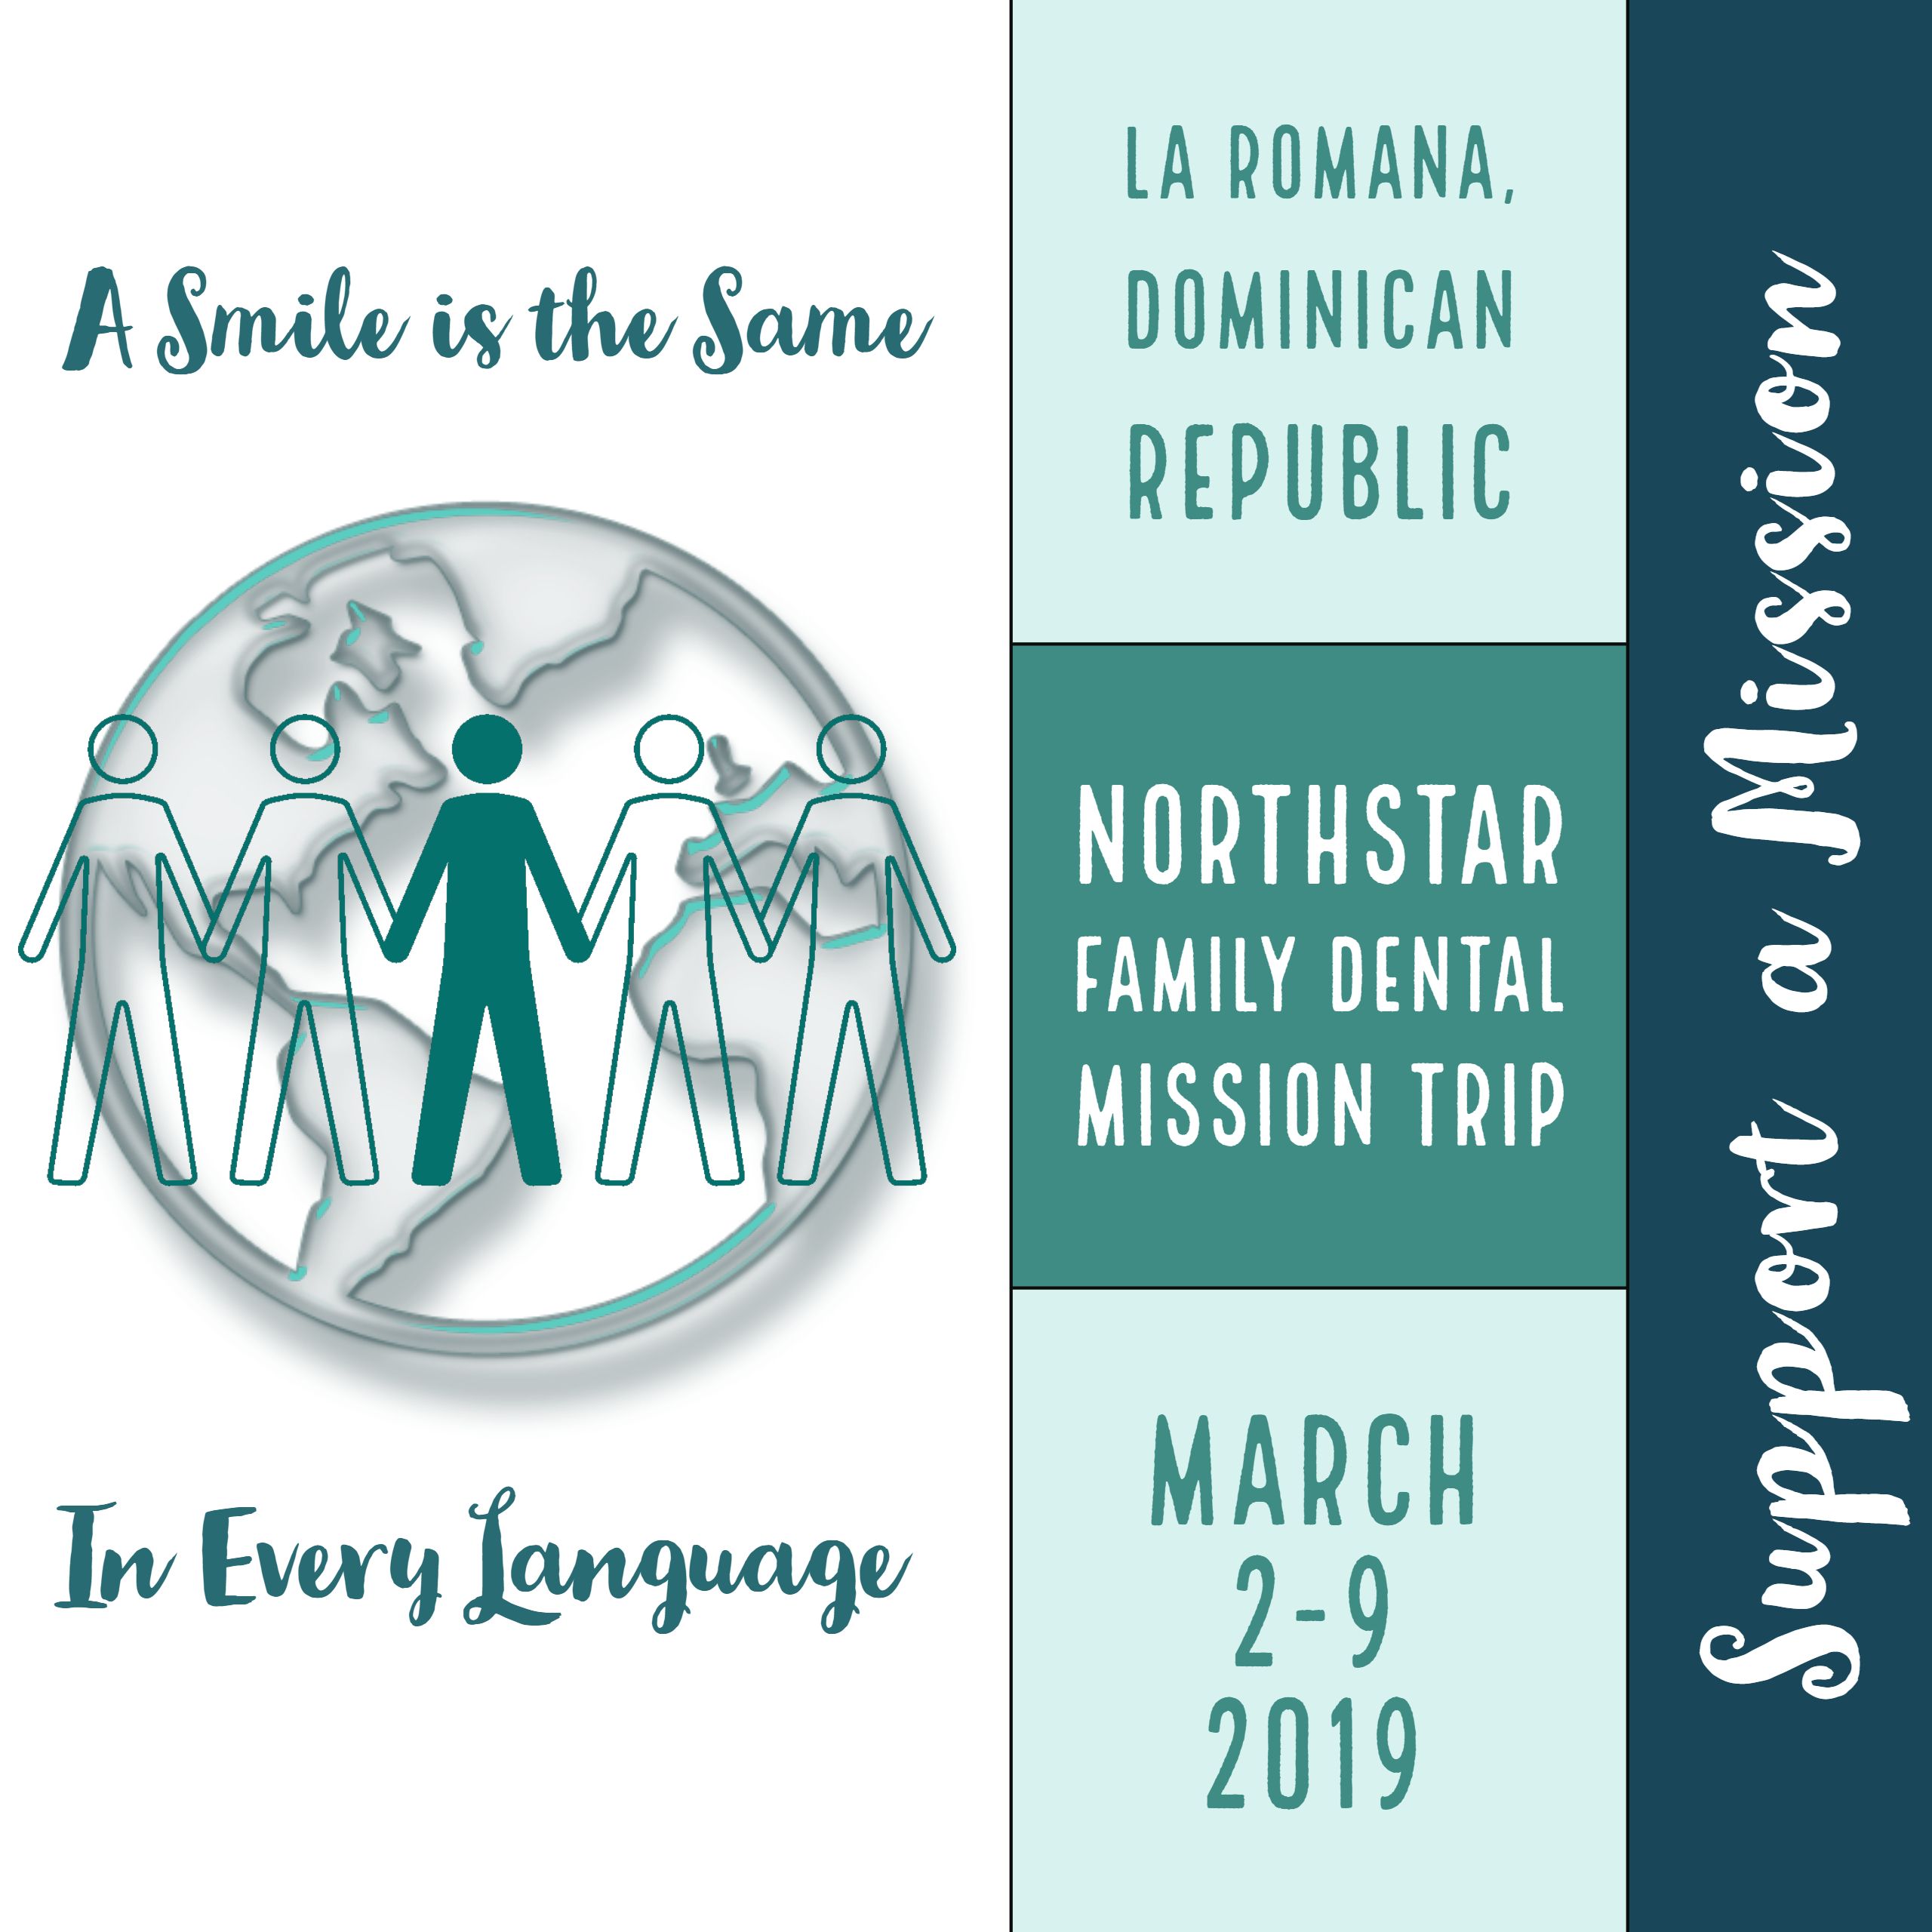
In November, we committed to taking our first mission trip in the spring of 2019! Our team will travel to the rural, impoverished areas of the Dominican Republic to provide the residents with desperately needed oral care. Each member of our travel team has committed to covering their own travel and related expenses. To help manage the cost burden, we have created a t-shirt fundraiser. Check out the shirts at the link below and please consider supporting our team and this cause!
https://stores.inksoft.com/northstarfamilydental/shop/home
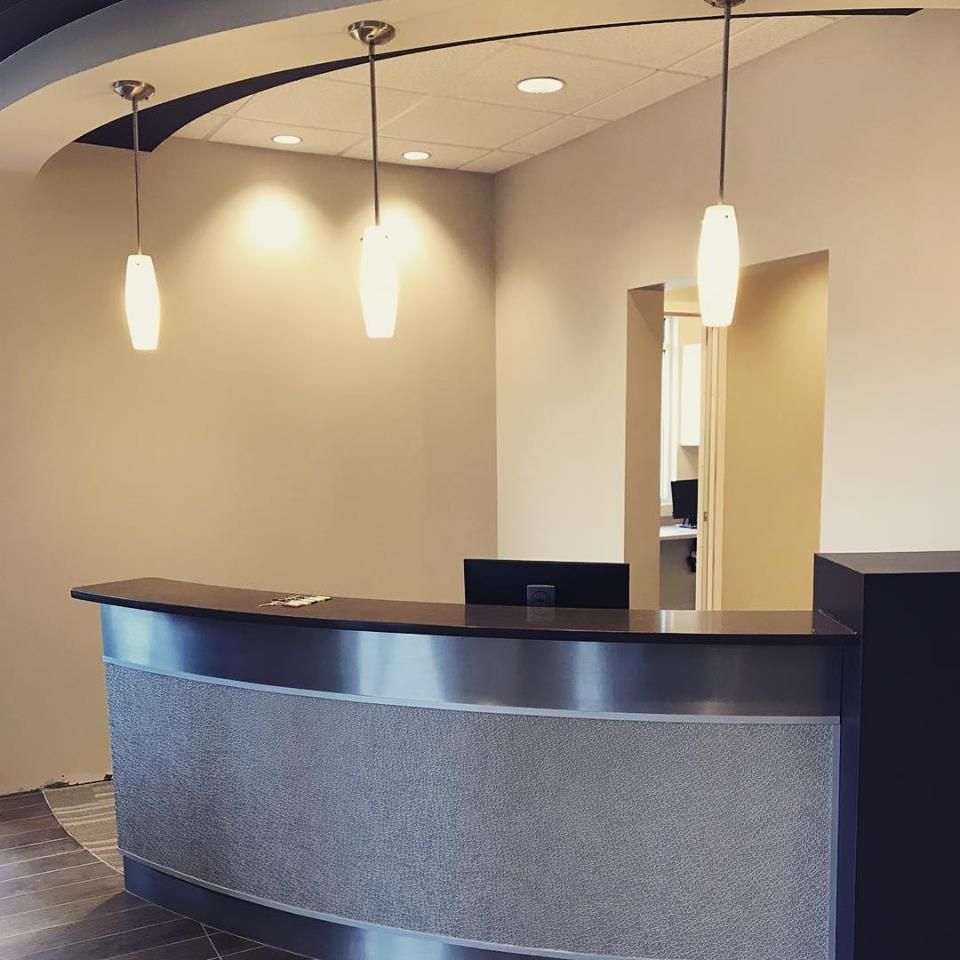
Finally, in December, we opened our SECOND location in Lewis Center and launched a new, improved website, all in the effort to better serve you!
We’ve enjoyed looking back on such an exciting year. And we couldn’t imagine it without the support and loyalty of the greatest patients in the world. We are looking forward to sharing many more great experiences with you in 2019!
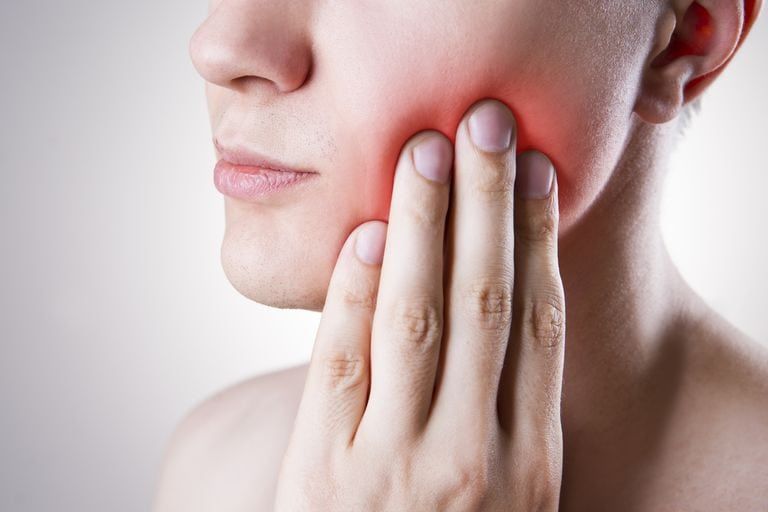


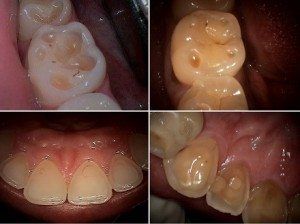
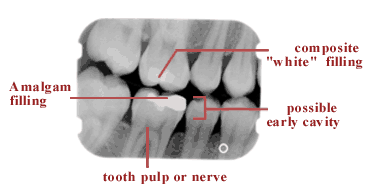
 5. Missing/Loose Fillings

 Treatment
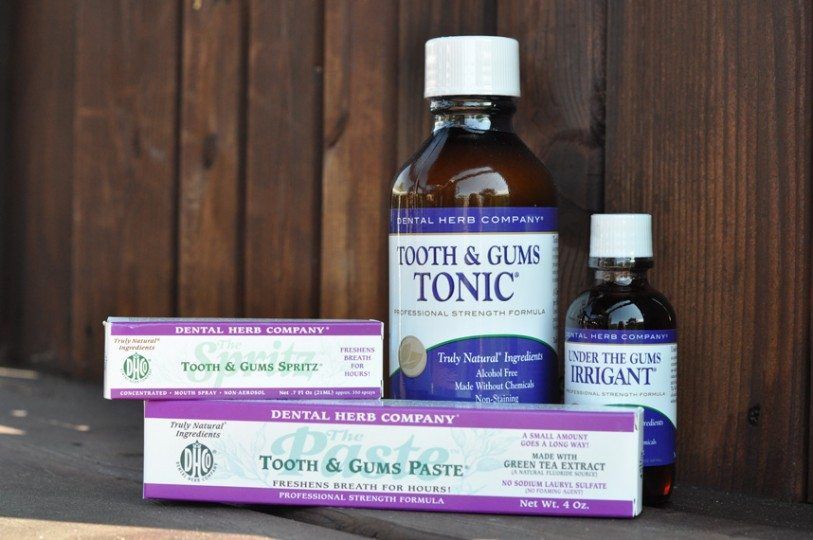
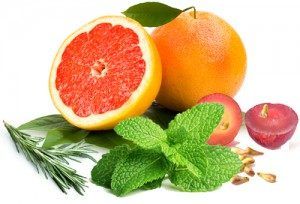 Green tea – Green tea has antibacterial components that can kill bad breath germs.
 Foods high in Vitamin C – These foods (think oranges, melon, berries) Can stop bacteria from growing and help to neutralize odors from smelly foods.
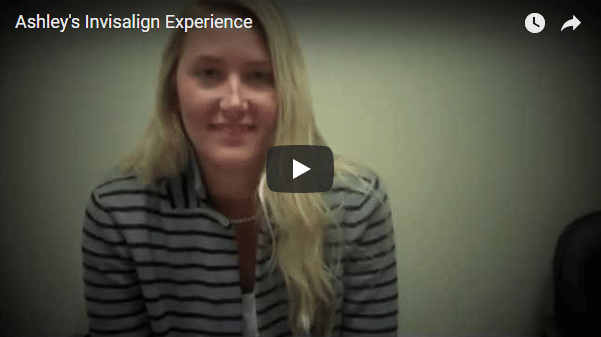


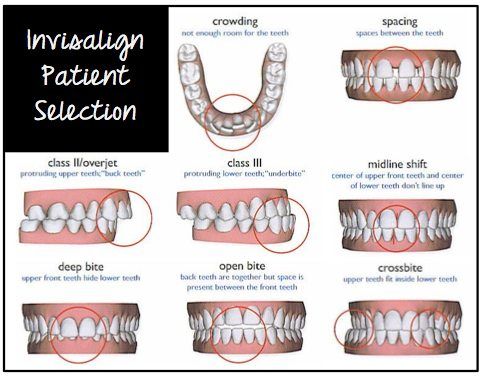
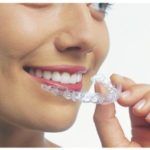 Invisalign is a method of orthodontics that utilizes a series of clear aligners to move teeth. The aligners are specifically molded to fit each individual’s mouth.
 Records. We will take a series of photographs and impressions of your teeth.
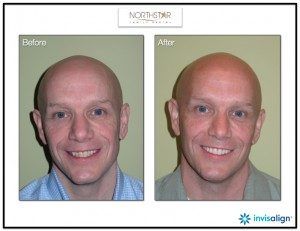


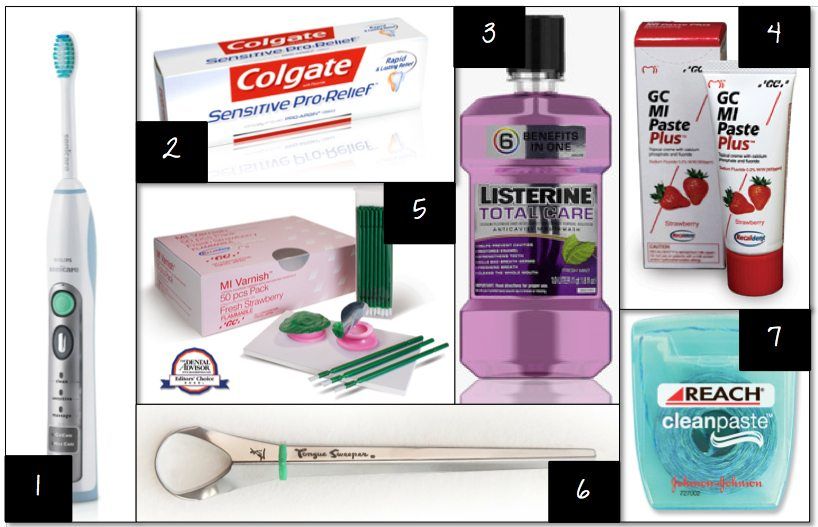
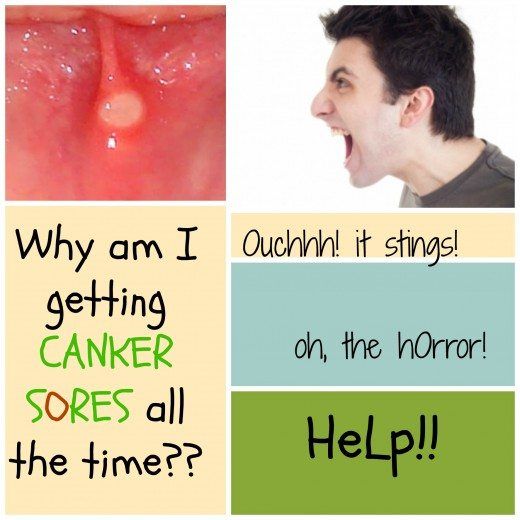
 Chances are, you or someone you know suffers from oral cold sores or canker sores. An estimated 57% of the population suffers from “cold sores,” (AKA oral herpes simplex), while an estimated 10% of the population has “canker sores.” Today I want to discuss how these painful and stubborn mouth sores can be treated by us with our new laser. (That’s it on the right. It’s so pretty!)
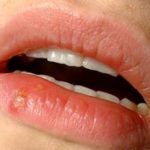 Cold sores (AKA oral herpes simplex) are viral in nature. Therefore, the lesions are contageous. Once a person contracts the virus, it can lay dormant between outbreaks, which may be triggered by trauma, stress, sunburn, illness, or cold weather. They are found on the lips, gingiva (“gums”), and hard palate, and are traditionally treated by antivirals (e.g. Acyclovir).


 It looks strange, but it does make it comfortable for both the patient (who can swallow on his/her own and doesn’t have to worry about water spray, etc. from the procedure) and for us!